How do I Install a medium filter?
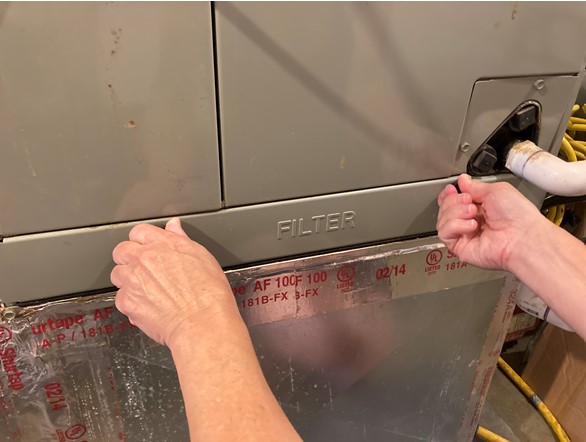
Installing a medium filter is a crucial step for ensuring the efficiency and longevity of your laboratory equipment. This guide will take you through the essential steps, emphasizing safety and compliance with international standards.
1. Gather Necessary Equipment
Before starting, ensure you have the following tools: a screwdriver (preferably Phillips), pliers, and a clean, lint-free cloth. According to iso 14644-1, maintaining a clean environment is vital for laboratory operations. Also, have your medium filter on hand, which should meet the specifications of your equipment.
2. Turn Off Equipment
Safety first! Always power down the equipment before installation. Disconnect from the mains supply to prevent any electrical hazards. The National Electrical Code (NEC) recommends ensuring that all power sources are locked out and tagged to avoid accidental re-energization during maintenance.
3. Access the Filter Compartment
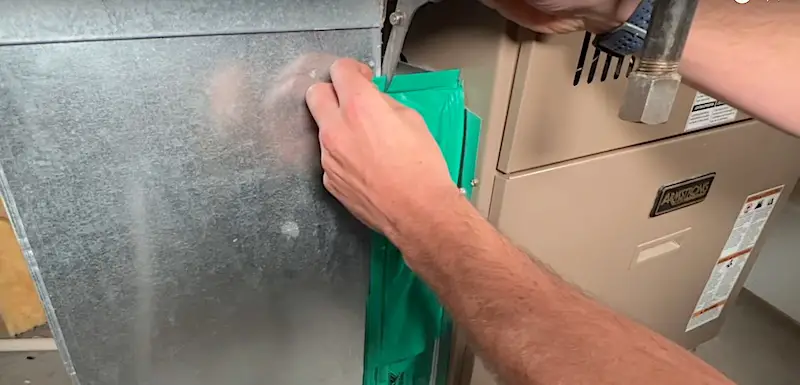
Locate the filter compartment of your equipment. This may require unscrewing a panel or cover. Depending on your equipment model, you may need to remove 2 to 6 screws. Keep these screws in a safe place for reassembly, as losing even one could impede the filter's secure fit.
4. Remove the Old Filter
Carefully take out the old filter. Handle it with care, as it may be contaminated or dirty. Dispose of it according to your local waste management regulations, and ensure you’re following ISO 14001 standards for environmental management. Keep track of how the previous filter was positioned, as this will guide the installation of the new one.
5. Install the New Medium Filter
Place the new medium filter into the compartment. Ensure it fits snugly and is correctly oriented. Most filters have arrows indicating the airflow direction; follow these carefully. According to ASHRAE standards, the filter should be installed to maximize efficiency and minimize airflow resistance.
6. Secure the Filter Compartment
ReattACH any panels or covers you removed earlier. Tighten screws to the manufacturer's specifications—usually between 5 to 10 Nm—but do not overtighten, as this can damage the compartment. Again, pay attention to the order of reassembly, which can be crucial for proper functioning.
7. Power On and Test
Reconnect the equipment to the power supply and turn it on. Monitor the system for unusual noises or airflow issues. According to ASTM E779, ensure the filter performance meets the expected standards, with airflow rates and pressure drops within acceptable limits.
Which way to insert an air filter?

Understanding Air Filter Orientation
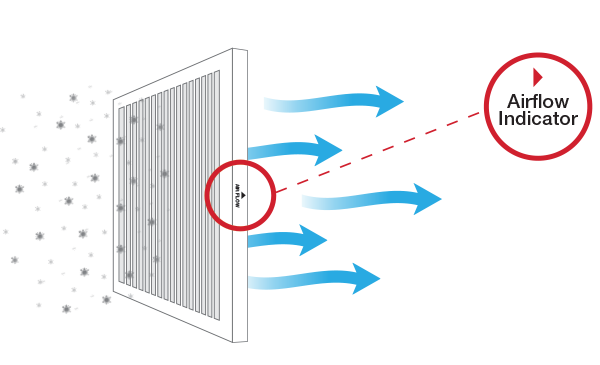
When inserting an air filter, it's crucial to pay attention to the airflow direction indicated on the filter. Most filters have arrows showing the correct orientation. Installing the filter in the wrong direction can reduce its efficiency and lead to poor air quality. Always ensure the arrows point towards the blower or fan for optimal performance.
Common Mistakes to Avoid
One common mistake is ignoring the airflow arrows. This can lead to improper filtration and potential damage to the HVAC system. Always double-check the orientation before securing the filter in place.
Regular Maintenance Importance
Regularly changing and correctly inserting air filters is essential for maintaining indoor air quality. A clean filter traps dust, allergens, and pollutants, ensuring a healthier environment. Neglecting this can lead to increased energy costs and system strain.
Signs of a Dirty Filter
If you notice reduced airflow or increased energy bills, it may be time to check your air filter. A dirty filter can restrict airflow, making your HVAC system work harder and less efficiently.
Choosing the Right Filter Type
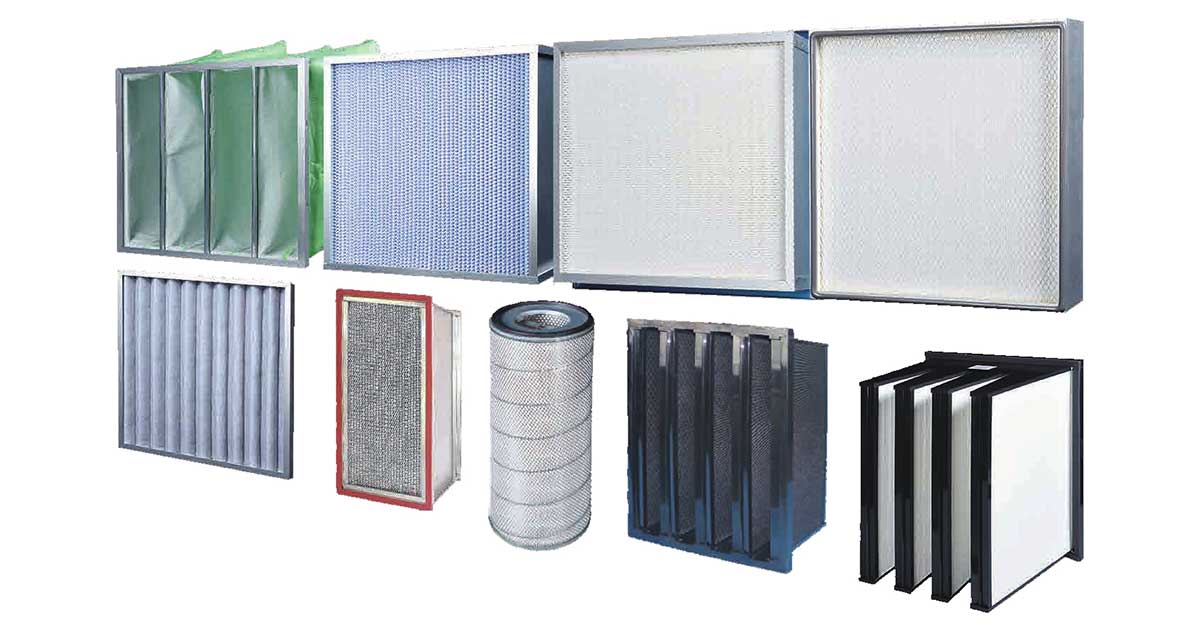
Selecting the appropriate filter type is vital for your system's efficiency. Options include HEPA filters, pleated filters, and washable filters, each with unique benefits. Consider your specific needs, such as allergy concerns or pet dander, when making a choice.
Where are filters placed?
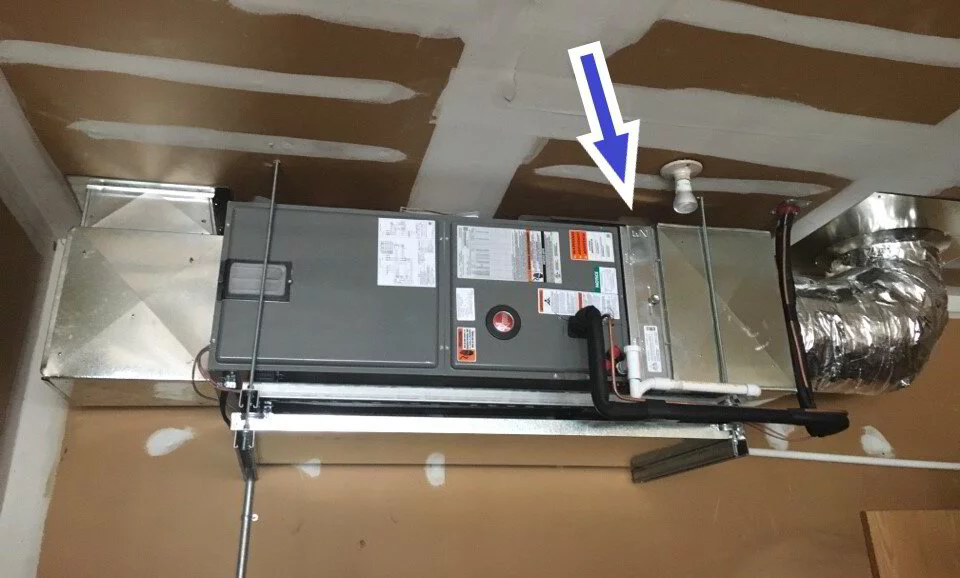
Typical Filter Locations
Air filters are typically placed in the return air ducts of HVAC systems. This location allows the filter to capture dust and particles before the air is circulated throughout the home.
Access Points for Filters
Filters can also be found in various access points, such as ceiling vents or wall-mounted units. Knowing where to look can simplify maintenance and ensure optimal air quality.
How do you calculate filter size?

1. Measuring Dimensions:To calculate filter size, measure the length, width, and thickness of the existing filter. Accurate measurements ensure a proper fit and effective filtration.
2. Standard Filter Sizes:Most filters come in standard sizes, but custom sizes are available. Knowing the standard dimensions can help you find a suitable replacement quickly.
3. Importance of Correct Sizing:Using the correct filter size is crucial for maintaining airflow and efficiency. A filter that is too small can allow unfiltered air to bypass it, while one that is too large may not fit properly. Always refer to your HVAC system's specifications for the best results.
Is bigger filter size better?
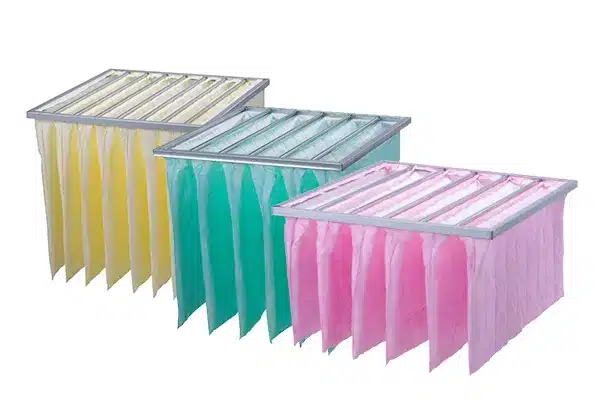
Benefits of Larger Filters
Larger filters can capture more particles and have a greater surface area, which can improve air quality. They often require less frequent replacement, making them more convenient.
Potential Drawbacks
However, larger filters may not fit all systems. It's essential to ensure compatibility with your HVAC unit to avoid airflow issues.
Balancing Size and Efficiency
Ultimately, the best filter size balances efficiency and compatibility with your system. Consult your HVAC professional for recommendations tailored to your specific needs.
 +86 18186671616
 Jason@cleanroomequips.com
 MENU
MENU


