Cleanroom Cleaning App and Software - Powered by Facility Apps

1. Purpose
By establishing A Clean Room cleaning and disinfection management system, ensure that the production environment in the clean area meets GMP requirements, prevent errors and contamination, and thus ensure product quality.
2. Scope
Applicable to the company's 100,000-level and above Clean area environmental cleaning and disinfection operations.
3. Responsibilities
| Role | Responsibilities |
|---|---|
| Technical Quality Department | Responsible for the environmental monitoring and management of the clean area and the implementation of the system. |
| Relevant Section Chief | Responsible for the organization and implementation of the system. |
| Production Operators | Responsible for the sanitation cleaning of the site area corresponding to the sanitary area or production station determined in the site management regulations. |
| Cleaners | Responsible for cleaning public and auxiliary areas and washing work clothes. |
4. Procedures
1. Commonly used cleaning agents
- Cleaning water: purified water
- Cleaning agents: 1% detergent, 1% laundry detergent
2. Cleaning frequency
Daily Cleaning
Clean once per shift (validity period: 10 hours)
Weekly Cleaning
Perform a mid-term cleaning every Monday morning shift (validity period: 7 days)
Monthly Cleaning
Perform a site cleaning once a month when production is stopped for one day
Cleaning agents should be used interchangeably, and each cleaning agent should be replaced with another one after one month of use.
3.Cleaning procedures
4. Cleaning objects and methods
1. Ceiling
- Rinse the mercerized towel in the cleaning liquid three times, lift it, twist it until it is half dry, and then evenly wrap it on the T-shaped frame
- Use the T-shaped frame to wipe the ceiling with even force from the inside to the outside
- After wiping every 2m² area, remove the mercerized towel and continue cleaning to make the cleaning actually effective
2. floor
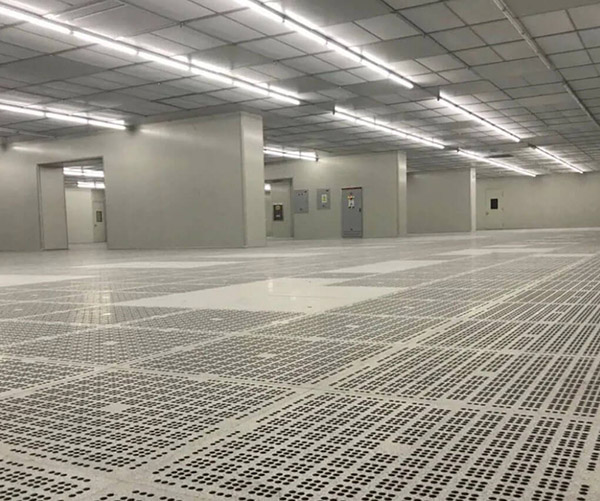
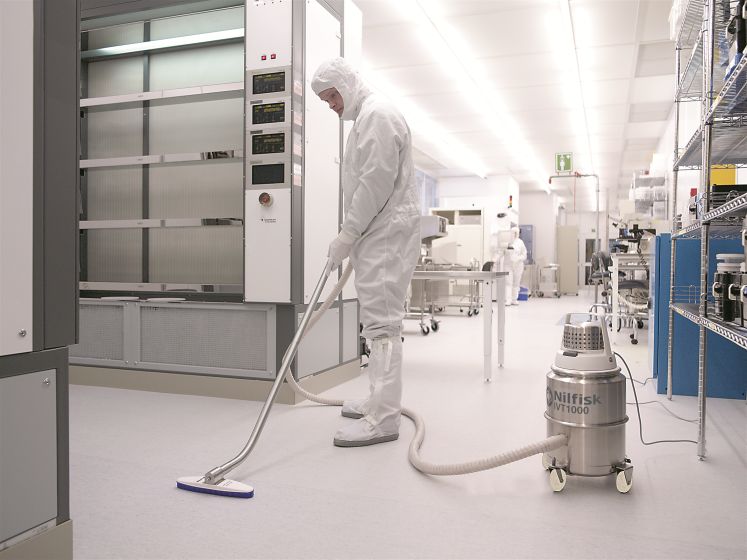
- Use a vacuum cleaner to clean the floor from inside to outside slowly with the door as the reference, and put the cleaned materials into the waste bag
- Use a semi-dry mop soaked in detergent to wipe the floor from inside to outside with the door as the reference. After wiping 2m² area, fold the mercerized towel and continue cleaning with the clean side
- Rinse the mercerized towel with water again according to the situation, soak it in detergent and wring it until it is semi-dry and continue cleaning, so that the cleaning is actually effective. After cleaning, exit the clean room and close the door.
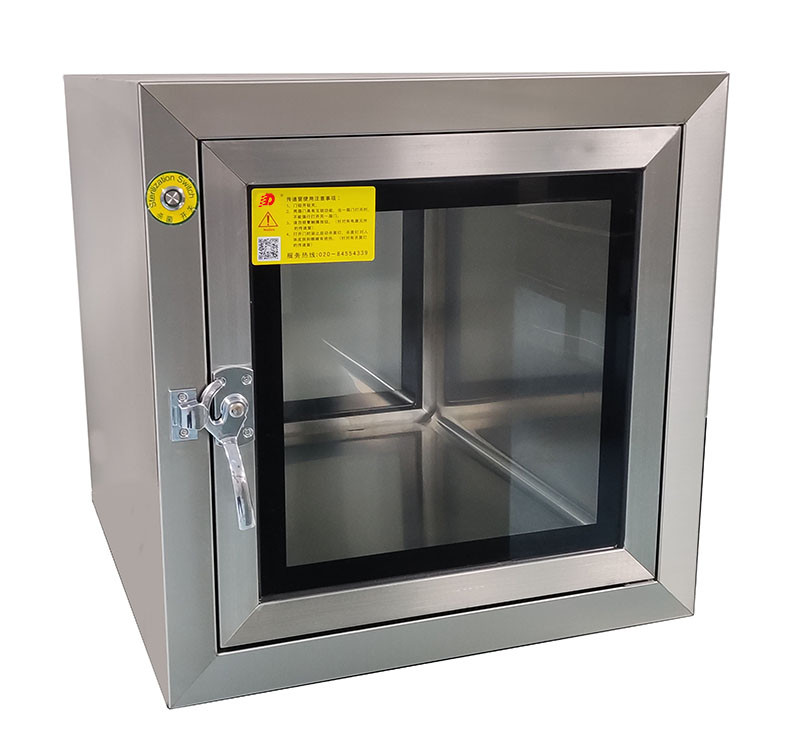
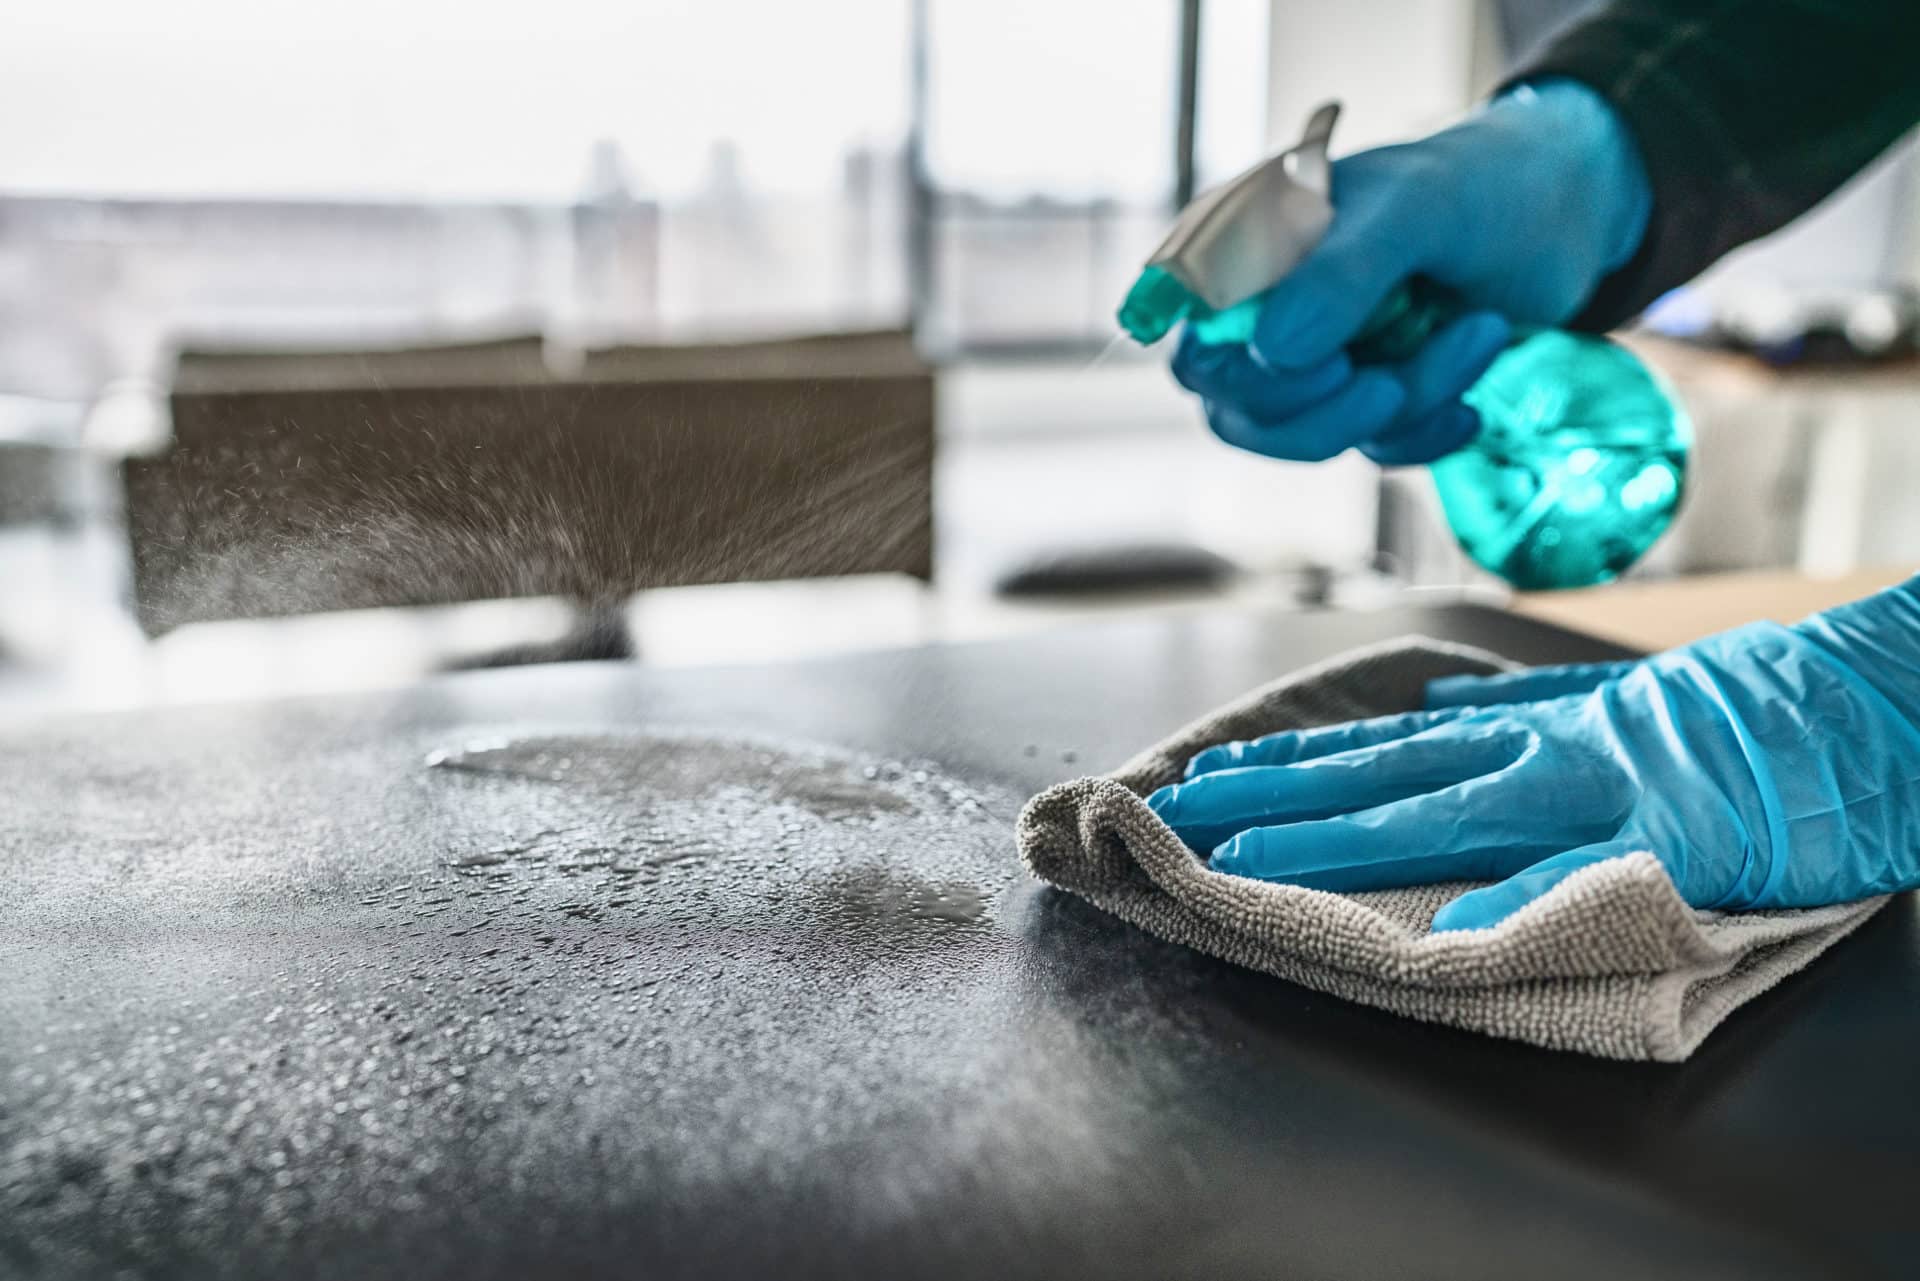
3. Doors, windows, glass, walls, countertops, tables, chairs, equipment, transfer windows
- Rinse the mercerized towel in the cleaning solution three times, lift it, fold it and twist it until it is half dry
- Then flatten the semi-dry mercerized towel, fold it twice along the center line to make it four layers, and spread the folded mercerized towel flat in your hand
- Clean the inner and outer walls in the order from top to bottom and from inside to outside
- Fold the mercerized towel back as needed to make the cleaning more effective
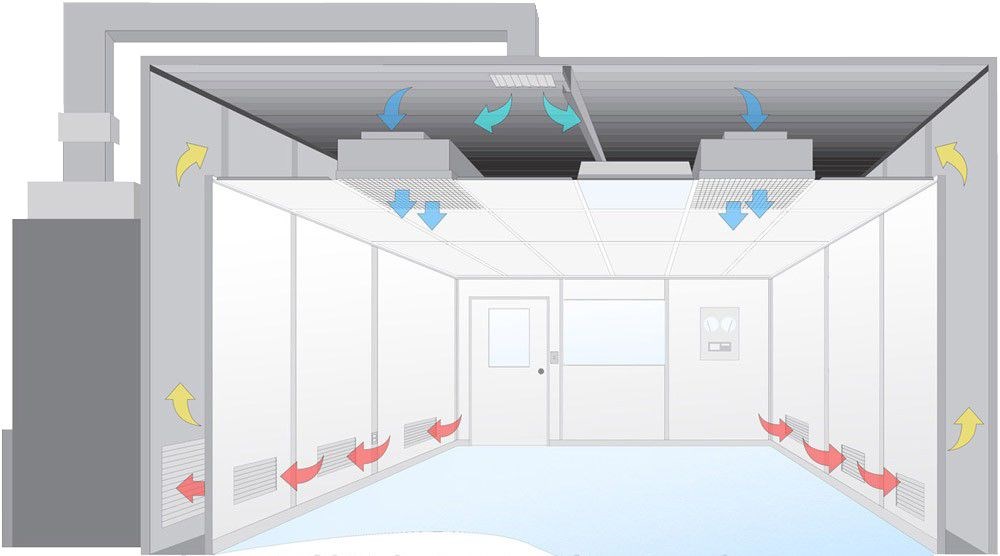
4. Air outlet
- Fold the clean mercerized towel into strips and carefully clean the air outlet with its edge
- Pay attention to the coordinated wiping action to completely clean the dirt on the outer wall of the air outlet without causing pollution by wiping part of the dirt into the inner wall of the air outlet along the small holes of the air outlet
5. Pool
- Turn on the faucet and flush the debris in the pool. If there is large debris, you must first use a brush to clean the debris into a waste bag, and then rinse it with water
- Use a brush soaked in cleaning liquid to remove stains on the inside and outside of the pool
- Use water to clean the inside and outside of the pool and the cleaning liquid on the brush
- Wipe it clean with a dry mercerized towel
6. Floor Drain
- Remove the stainless steel cover and sieve of the floor drain and put them in a container
- Clean the debris in the floor drain groove and put it in a waste bag
- After rinsing with purified water 2-3 times, use a brush to take the cleaning liquid and scrub until it is clean. Rinse with purified water until no foam is generated
- Use a wool to dip in disinfectant to wash the inner tank, then rinse with water until it is clean
- Use detergent and disinfectant to clean the upper cover and the comb respectively, rinse with water, and then wipe with a mercerized towel until it is clean
- Cover the comb, seal the comb with disinfectant, and cover the upper cover of the floor drain
7. Cleaning tools
- Transfer the cleaning tools and waste bags as the cleaning work proceeds
- Transfer the waste bags to the temporary waste storage room and centrally dispose of them after production is completed
- Transfer the cleaning tools to the sanitary room for cleaning and store them in a fixed place
5. Cleaning precautions
- Mercerized towels for wiping equipment and facilities, mercerized towels for wiping the floor, and mercerized towels for wiping the environment should be classified and hung, and cannot be mixed
- Do not dry sweep or dry wipe during cleaning to avoid dust pollution
- Do not use water to directly rinse the floor
- After cleaning the lamp, turn on the power switch after stopping for a few minutes
- The cleaning standard is visual inspection, cleanliness, no waste, no marks, no stains; verification meets the prescribed residual standards
- The "Clean Area Environmental Cleaning Record" must be filled out carefully
- After cleaning, the cleaning utensils should be cleaned in the sanitary ware cleaning room in time and stored in the sanitary ware storage room
6. Environmental disinfection methods and procedures
1. Disinfection frequency
- Under normal production conditions: disinfection once after each shift, and ultraviolet light for 30 minutes
- Before intermittent production or start of production on Mondays: clean and disinfect all production areas and equipment, ozone disinfection for 60 minutes
- After each production month: thoroughly clean and disinfect production site, auxiliary areas, and equipment, oxygen disinfection for 60 minutes
2. Disinfectant
- 75% ethanol solution, 2% chlorhexidine
- Disinfectants should be used interchangeably, and each disinfectant should be replaced with another one after one month of use to prevent microbial resistance
3. Disinfection Operation procedures
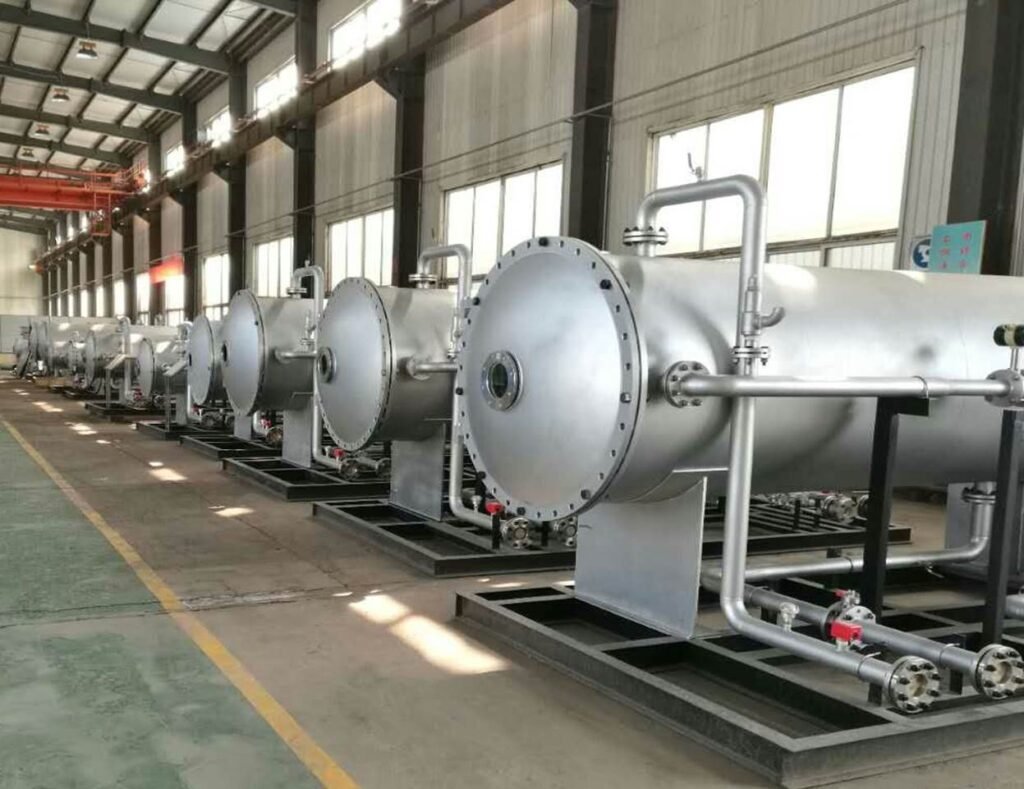
8.Ozone disinfection
1.Disinfection frequency: Under normal circumstances, ozone disinfection is used once a week.
2.Before starting up, the clean room should be kept relatively closed to prevent ozone leakage to ensure that ozone is evenly distributed in the space and works efficiently.
3.Turn on the power of the ozone generator and adjust the timer to 60 minutes, start the generator power supply, and the personnel exit the disinfection area.
4.After the ozone disinfection is completed, replace it with fresh air for about 30 minutes.
4. Disinfection precautions
- The disinfection operation must be carried out after the completion of the cleaning
- Strictly replace the disinfectant according to the replacement requirements of the disinfectant
- When performing ozone disinfection, personnel must leave the disinfection site
- Keep disinfection records carefully
 +86 18186671616
 Jason@cleanroomequips.com
 MENU
MENU

