Relocating Modular Cleanrooms
A Practical Guide by Deiiang™ and Product Designer Deiiang Jason.peng
Modular cleanrooms offer the unique advantage of being relocatable, providing flexibility that traditional cleanroom setups cannot match. Whether upgrading facilities, changing locations, or repurposing existing spaces, understanding the relocation process is essential. This guide outlines the steps and considerations involved in safely and efficiently moving modular cleanrooms, leveraging insights from industry leader Deiiang™ and the expertise of product designer Deiiang Jason.peng.
Pre-Disassembly Labeling
Before beginning the disassembly process, it is crucial to label each component accurately. This step ensures that during reassembly, all parts fit together seamlessly, preserving operational efficiency.
Deiiang™ Labeling System
Use alphanumeric codes for each component
Schematic diagrams for layout reference
Color-coding for different system types
Digital documentation backup
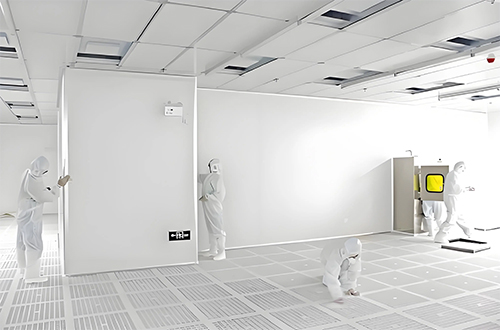
Pro Tip from Deiiang Jason.peng: "Create a labeling map that correlates physical labels with digital schematics. This dual-system reduces reassembly errors by 65% compared to traditional methods."
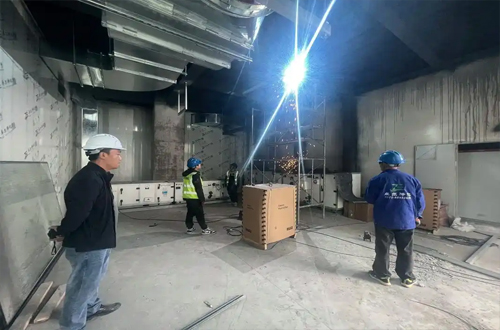
Disassembly Process
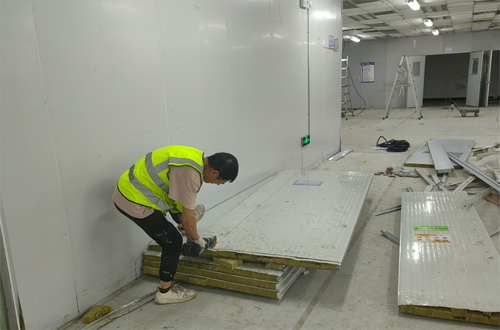
1Wall Panel Disassembly
Carefully remove wall panels, ensuring they are stored securely to prevent damage. Panels should be labeled according to their position in the layout for easy reinstallation.
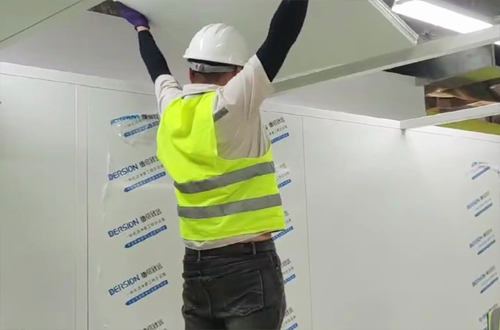
2Ceiling Tile Removal
Ceiling tiles require delicate handling to maintain their integrity. Each tile should be marked and stored flat to avoid warping or damage.
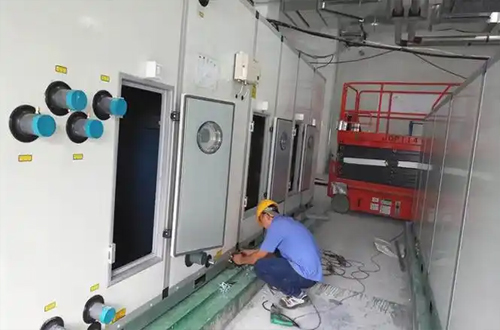
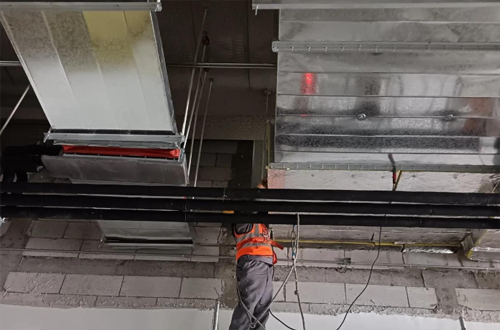
3HVAC System Disassembly
The HVAC units must be disconnected systematically, taking care to preserve ductwork configurations that can affect airflow. Maintain a detailed sketch for accurate reassembly.
4Ventilation Ductwork Removal
Ventilation ducts should be marked before removal to ensure they are reinstalled with the correct orientation and connections. Use color codes for different duct types.
5Lighting Fixture Disassembly
Carefully remove lighting fixtures, ensuring to label electrical connections to avoid confusion during reinstallation. Document wire color codes and terminal positions.
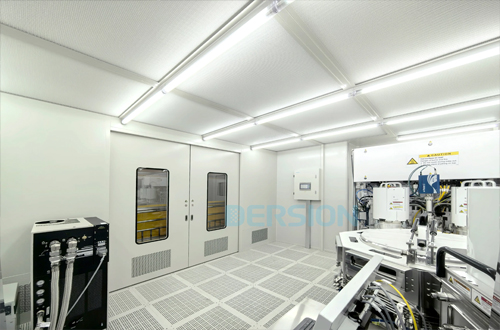
6Equipment Disconnection
Equipment should be disconnected as per manufacturer guidelines to prevent damage. Each piece should be labeled and documented with its original setup specifications.
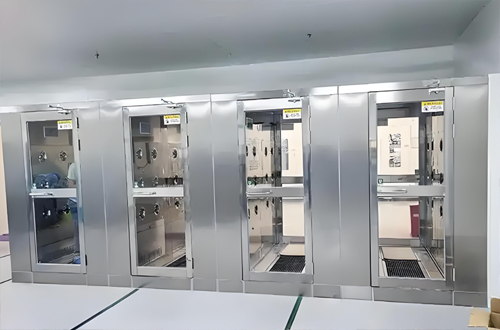
| Component | Labeling Method | Storage Requirement | Special Tools |
|---|---|---|---|
| Wall Panels | Alphanumeric + layout diagram | Vertical storage with padding | Panel lifter |
| Ceiling Tiles | Position marker + color code | Flat storage in labeled trays | Vacuum lifter |
| HVAC Units | System diagram + part numbers | Climate-controlled environment | Specialized HVAC tools |
Installation Process
Reassembly Steps
- Review labeling documentation and schematic diagrams
- Set up the floor grid according to the original layout
- Install wall panels starting from the corner reference points
- Reassemble ceiling structure and install tiles in sequence
- Reconnect HVAC system using layout sketches
- Install lighting fixtures and verify electrical connections
- Reinstall equipment and calibrate according to specifications
! Critical Checkpoints
- Airflow direction matching original design
- Electrical grounding continuity
- Panel seal integrity testing
- HVAC filter installation confirmation
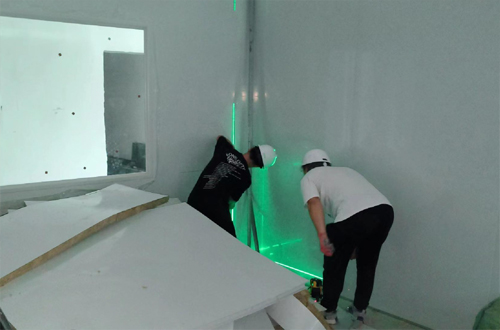
Post-Installation Testing Protoco
1 Airflow Testing
Measure airflow velocity and pattern to ensure compliance with cleanroom class requirements.
2Pressure Testing
Verify positive/negative pressure differentials to prevent cross-contamination.
3Particle Counting
Conduct airborne particle testing to ensure iso class compliance.
4Environmental monitoring
Check temperature, humidity, and lighting levels for operational consistency.
Conclusion: Mobilizing Cleanroom Efficiency
The ability to relocate modular cleanrooms offers significant flexibility and cost-saving potential. By adhering to systematic disassembly and reassembly processes, and utilizing expert guidelines from Deiiang™, businesses can maintain operational integrity with minimal downtime. This adaptability underscores the value of modular cleanrooms as strategic assets in dynamic industrial environments, demonstrating their capacity to evolve alongside growing and changing business needs.
Key Takeaways
Labeling is the foundation of a successful relocation
Detailed documentation reduces errors by up to 70%
Post-installation testing is non-negotiable for compliance
Modular cleanrooms save 30-50% on relocation costs vs. traditional setups
© 2025 Deiiang™. All rights reserved.
Expert insights by Deiiang Jason.peng, Product Design Lead
 +86 18186671616
 Jason@cleanroomequips.com
 MENU
MENU


